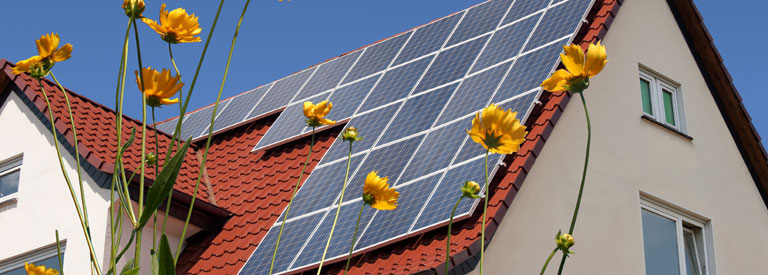
Solar panels: the installation process
In this section I’ll give you a basic rundown on the installation process.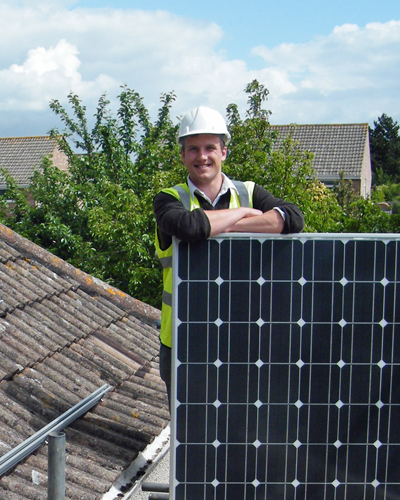
- Scaffold and materials
The scaffold will be arranged to go up 1-2 days before the installation team is due on site. The scaffold team will be fully briefed and for more complicated installations I will also attend on site to ensure everything runs smoothly. We may also arrange for the panels etc to be delivered prior to the installation team arrival, provided that you have a secure space to store everything. - The installation team arrives
When the team arrives I will introduce you to everyone. Aside from myself as project manager there will usually be two electricians and two roofers. I have worked with our subcontractors for several years and each team will have experience of dozens of installations so you will be in safe hands. - Do we need anything from you?
We will require access to a toilet and an electric socket. During the process we will endeavour to keep everything tidy, though we will require that you dispose of packing etc. As this is mostly cardboard it can go straight in the recycling which we are happy to help with. In addition, a cup of tea for the team members would certainly be appreciated!! - Installing the mounting frame
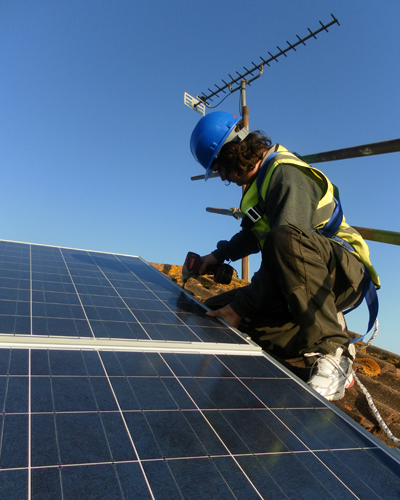
Whilst the electricians get started with the internal wiring and inverter, the roofing team will install the mounting kit. This broadly comprises of roof anchors, mounting rails and clamps to fix the panels to the rails. The wiring work for the electricians will be agreed with you at the design stage in order to determine the most suitable route for the cable run. - Installing the panels
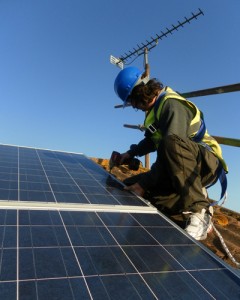
This is where you’ll really start to see the installation take shape, although it can be the most complicated to get right! As roofs are rarely straight, we will need to continually ensure that the panels are installed neatly and that the panels run parallel to the nearest edge. We will also be checking the aesthetics with you from ground level. - Connect to the inverter
We will need to connect the DC wiring from the panels on the roof to the inverter. The wiring will be fed through the roof using a waterproof method (dependent on your roof type). All cable routes will be agreed with you at the design stage. - Commission
It’s time to switch on the system which is obviously the most exciting part of the installation. Within a few seconds you should be generating your own energy, harvested from your rooftop! The installation process usually takes one-two days to complete.
Contact Us
If you’re looking to generate your own energy and think that solar power might be the answer then please contact us via the Contact Page, phone on 01454 324807 or email contact@greenleafinnovations.co.uk We look forward to talking to you.